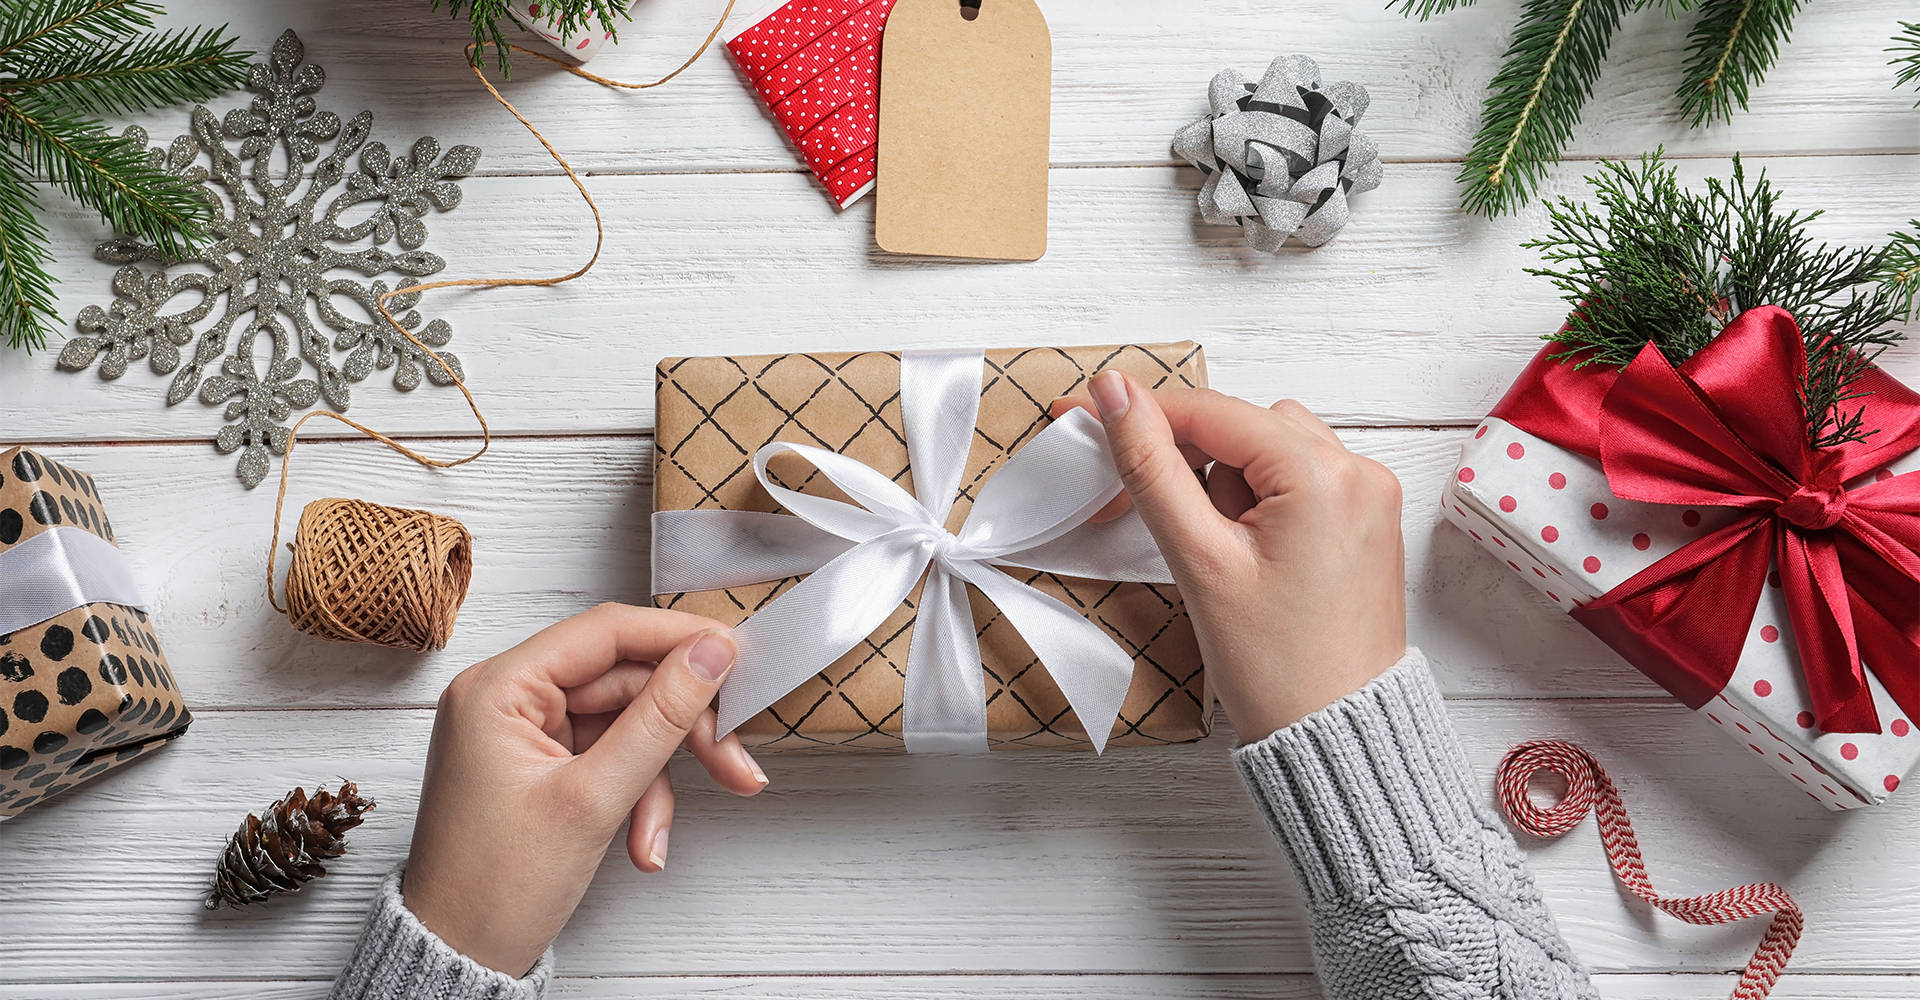
Ahh, the holidays; the most relaxing season of all. PSYCH! ‘Tis the season of losing our minds in the mall parking lot and the cruel temptations of open-bar office parties. However, for some, the most stressful part of the holidays is hardly the shopping or the work politics—it’s the gift wrapping. However, you can mask even the shoddiest paper jobs with a gorgeous holiday bow. (Trust us—it’s actually very endearing.) Here are two ways to craft a holiday bow worthy of your ‘nice’ list VIPs.
THE CLASSIC BOW: PRETTY & POLISHED
If you’ve got two left thumbs when it comes to gift wrapping, start with something basic! Here are the steps:
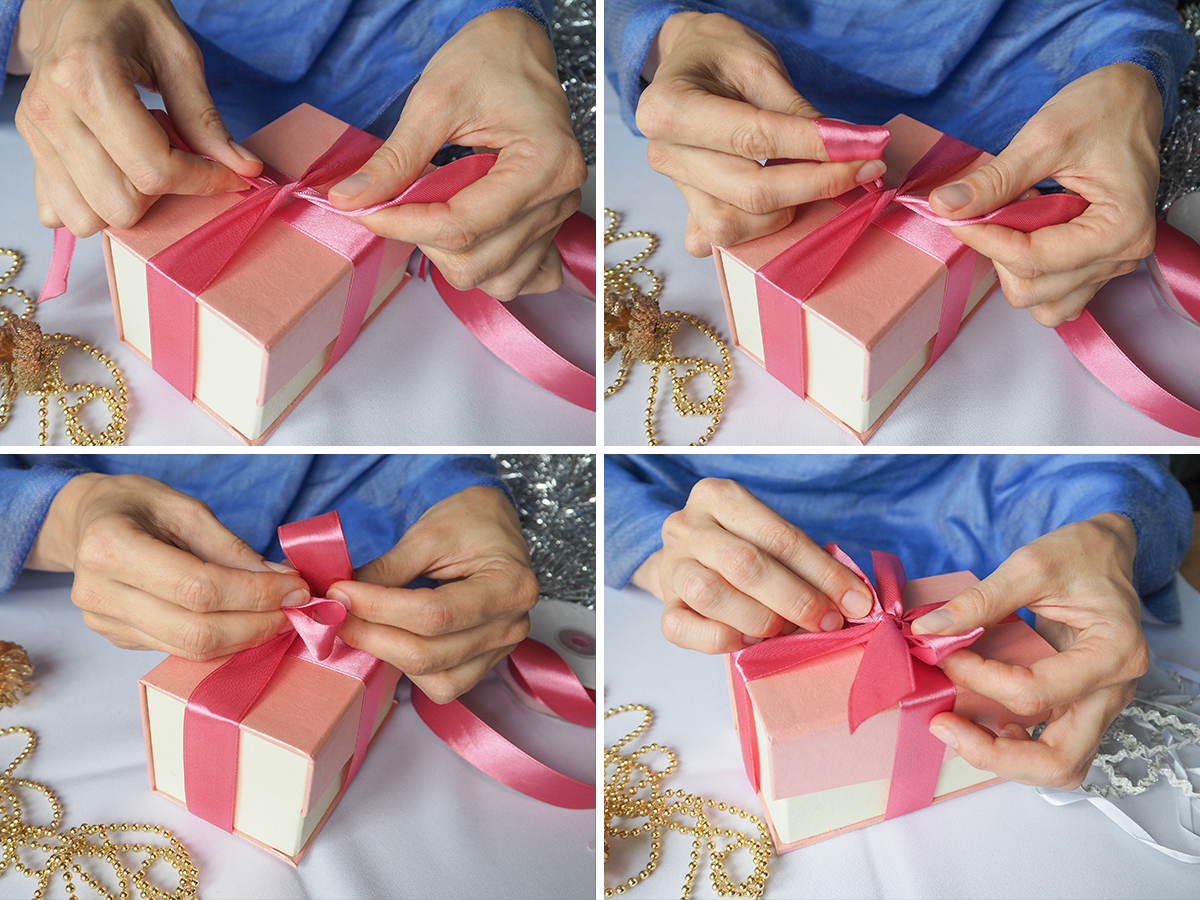
1. Start with more ribbon than you need, about 6 times the length of the gift.
2. Wrap the ribbon around the middle of the gift so it’s “belted” around the middle length, then knot the ribbon once. Next, wrap the ribbon around the gift again, belting it opposite the way you did the first time.
3. Tie a single knot, and then with the two sides of ribbon, form two loops—like you’re tying your shoelaces.
4. Tie the loops together and check the shape of the bow.
5. Adjust the loops for size and symmetry by gently pulling on the loops or the ribbon ends as needed. Your bow will look best if the total length is between ¼-⅓ the total length of the box.
6. Finish by cleanly snipping off the ribbon ends at an angle. Each end should be roughly the same length as the loops or slightly longer.
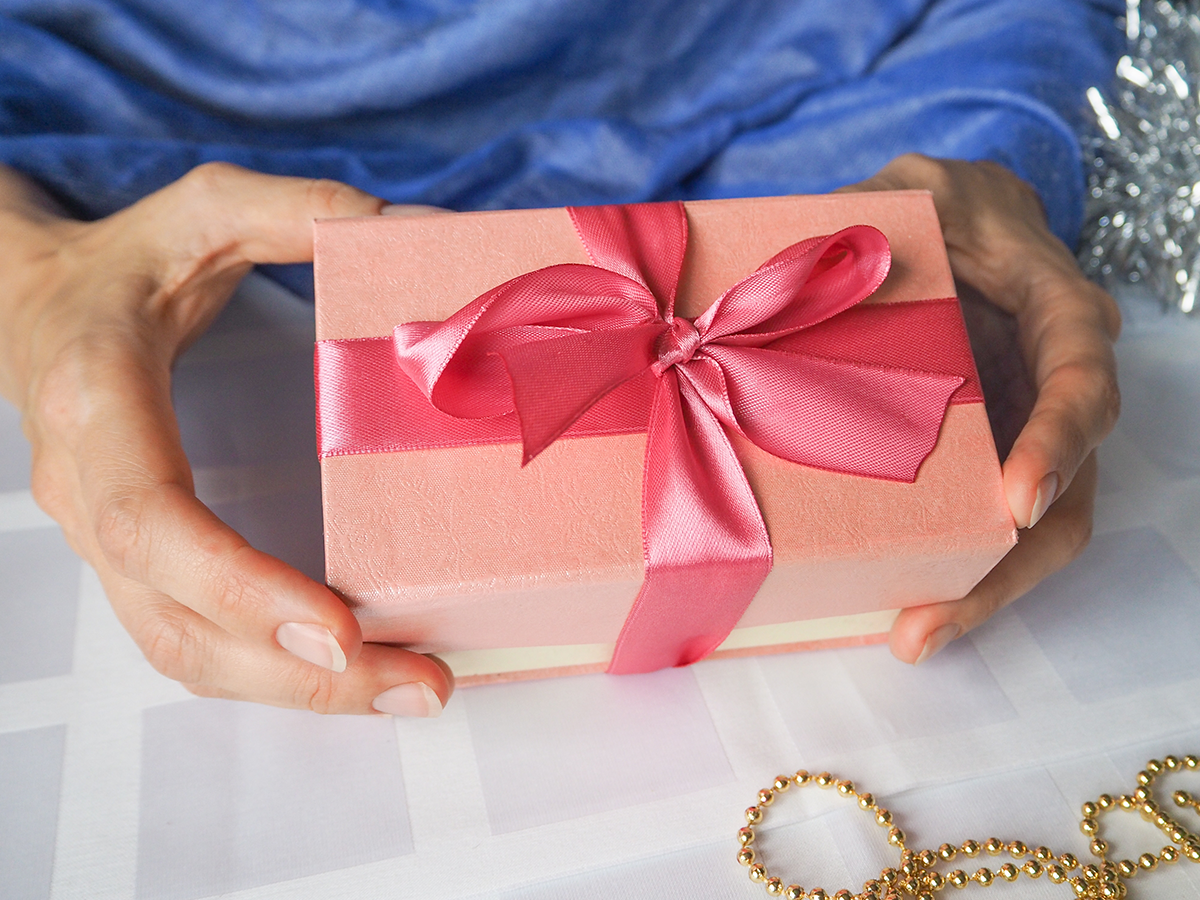
THE FANCY BOW: BIGGER & BOLDER
If you’ve got a bit of a crafty streak, this voluminous bow makes a great statement. You can use it to adorn a wreath, or use it to decorate gifts for those extra-special people. The Fancy Bow is a great choice when you’re using simple wrapping paper that needs a little “je ne sais quoi”.
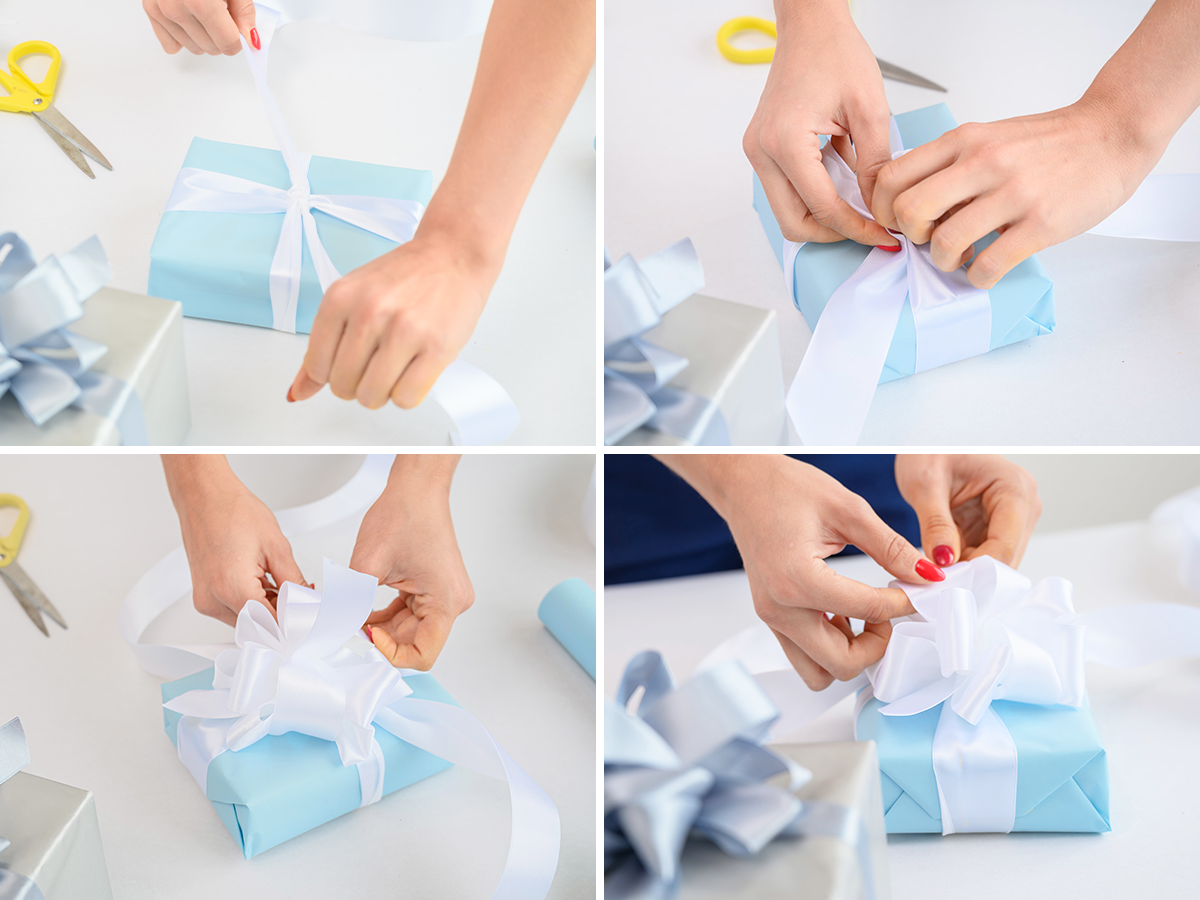
1. First, choose a wide, wired, double-sided ribbon—it’s a must for maximum drama!
2. Choose how long you want your bow “tails” to be, and unroll the ribbon to that length. This is where your first loop will start.
3. Form a loop with the ribbon, and once it’s the size you like, twist the loop and unroll some more ribbon from the spool.
4. With the newly unrolled length, create another loop, twist, and unroll some more ribbon. Repeat the process until your bow is as full as you’d like, arranging the loops as you go. You may need to hold the center with your finger as you work to prevent the loops from coming undone.
5.Using floral wire, secure the center of the bow.
6. Unroll enough ribbon to match the length of the first tail, plus another inch or two.
7. Finish by wrapping the second tail around the center of the bow to conceal the wire. To do this, wrap it in the opposite direction of the first tail and tuck it underneath the bow so both tails lay side by side.
8. If desired, trim both tails for symmetry and neatness.
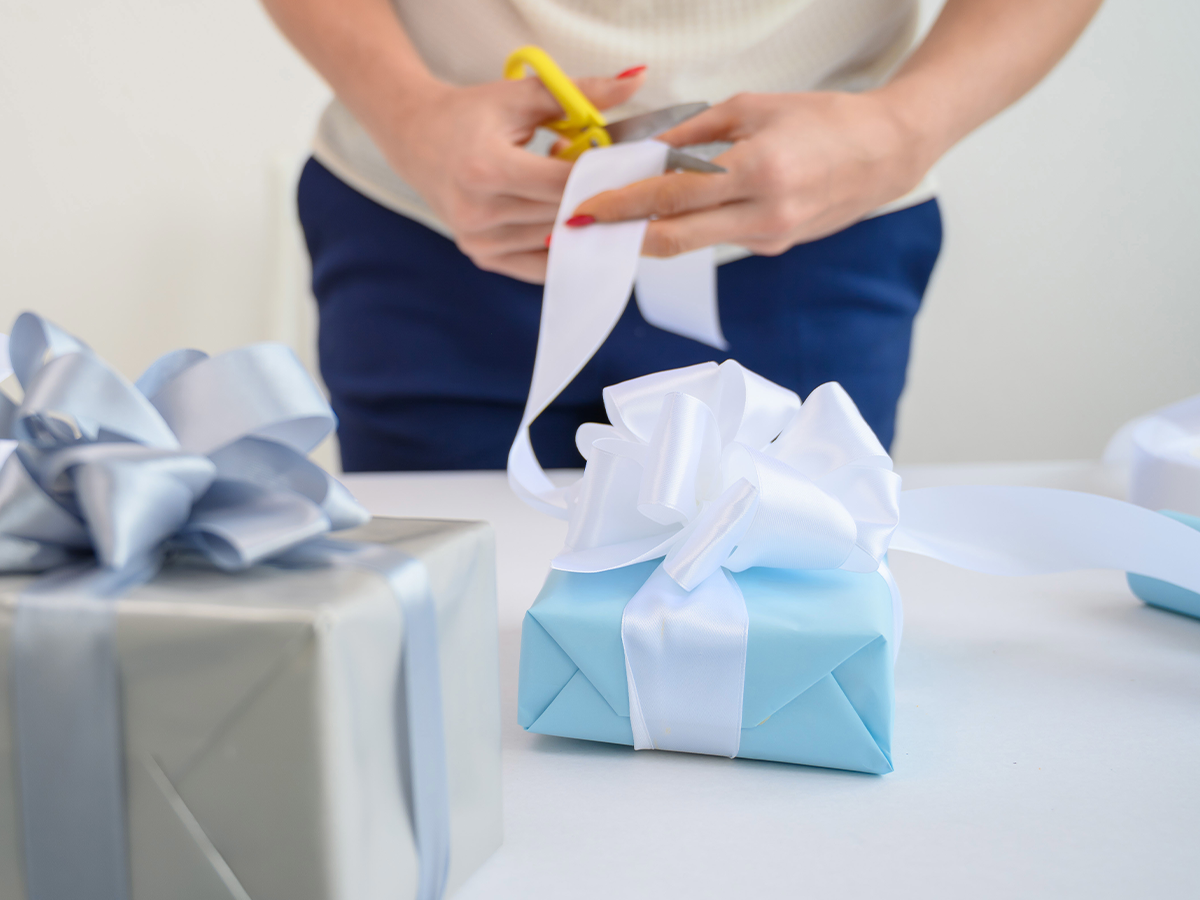
Making a perfect, gorgeous holiday bow shouldn’t make you break a sweat, but it does add a personal touch to your gifts or decor. With that said, a fancy bow like that one definitely deserves to accompany an equally-thoughtful gift. How about a handmade light box filled with dried flowers, or a gift card for your favorite local winery? Or, if your loved one already has enough stuff and an enviable wine cellar, use your gift box to hide a handwritten note about the private event you’ve booked for the two of you. Time is the only thing you can’t buy, so give them the most priceless gift of all and make some new memories together in 2020.

