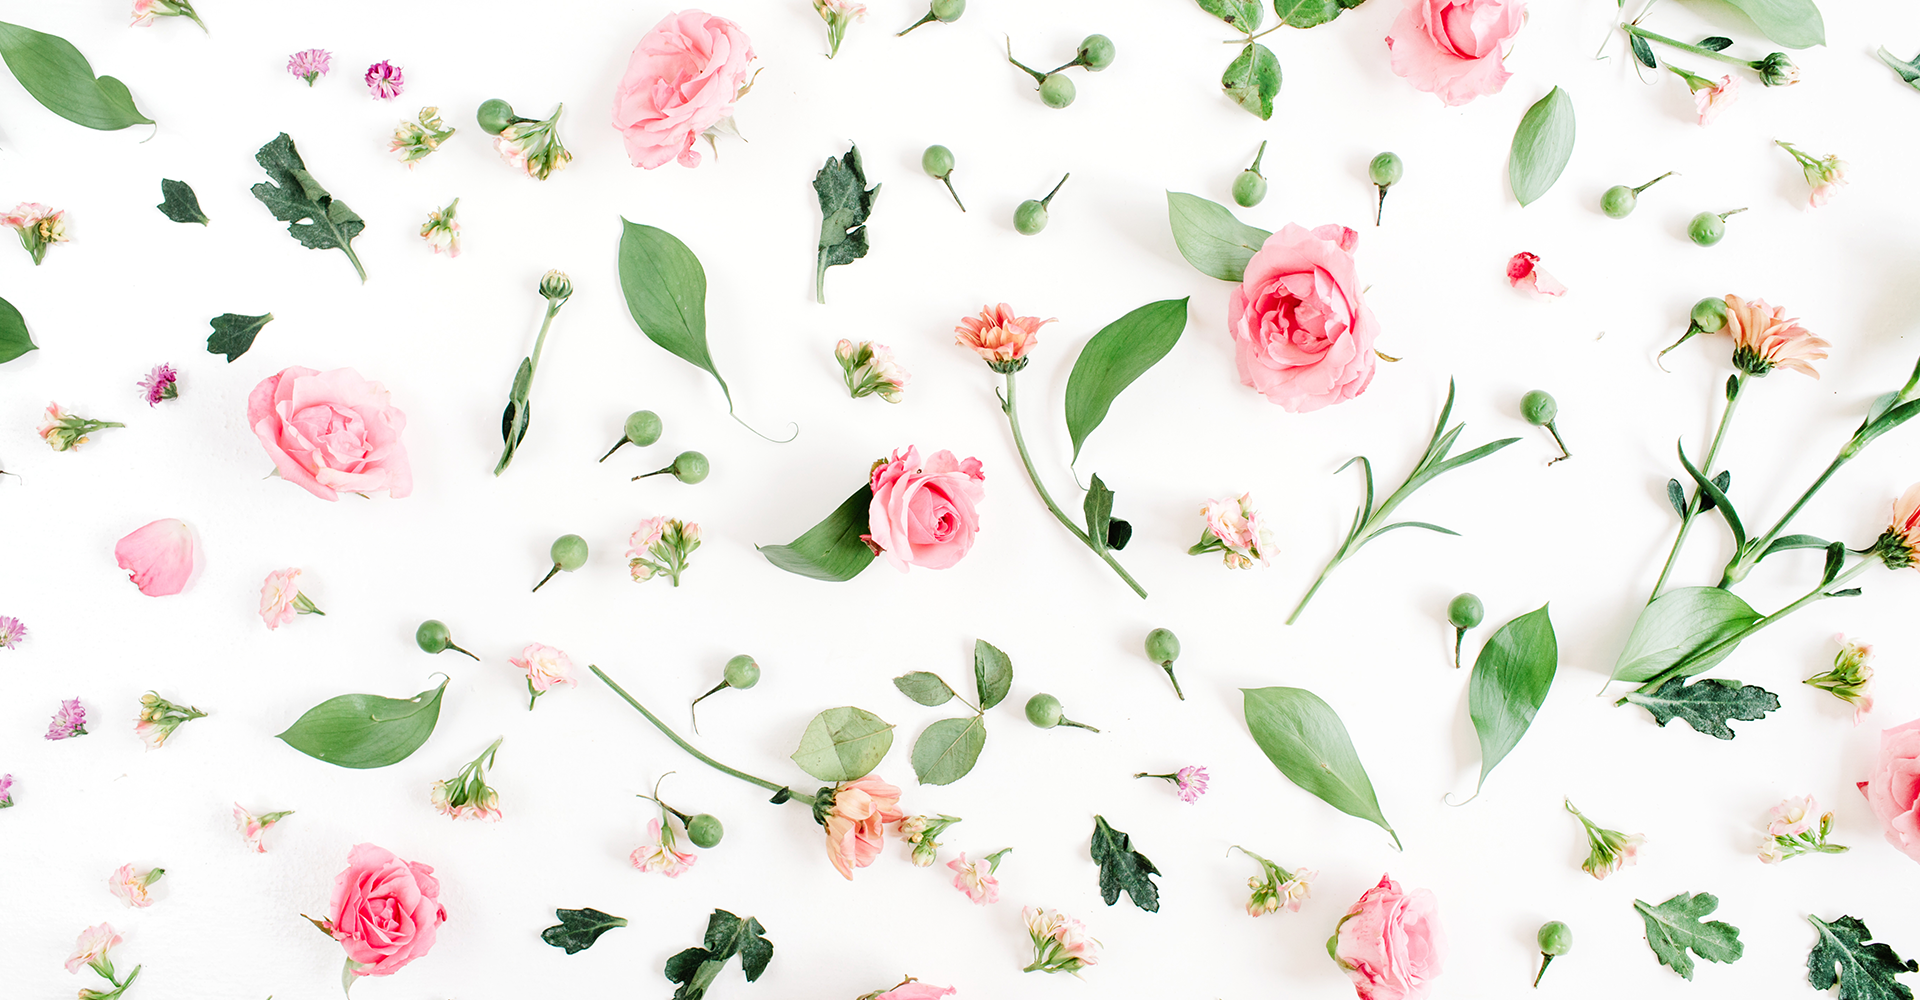
Now that fall is in full swing in the Finger Lakes, pastel-hued flowers are officially out of season as jewel-tones and harvest themes take over. However, that doesn’t mean you can’t re-purpose blooms from your treasured bouquets or garden beds! Dried flowers make stunning home decor with a little craftiness and a bit of time. If you missed out on our sold-out Dried Flower Wreath event, you can still make some fabulous dried flower crafts at home! Here are some of our favorite creative ideas for dried flowers.

POTPOURRI
A bouquet of roses is a timeless romantic gesture, and it seems like such a shame to throw them away when they lose their freshness. Thank goodness you don’t have to! One of our favorite things to do with dried roses is to make potpourri. Not only does it smell amazing, the rose petals have a lovely vintage appeal when displayed in glass bowls or bottles.
Supplies: Rose petals, rosebuds, lavender, cinnamon sticks, rose essential oil, and crushed orris root.
How to Make Rose Potpourri: First, separate all petals from the rose stem so they can all dry evenly. If you have fresh rosebuds and/or lavender on-hand, dehydrate those, as well, or buy pre-dried. Combine a cup of petals and a half-cup each of rosebuds and lavender into a glass mason jar. Roughly crush one or two cinnamon sticks and add to the botanicals. Add two or three drops of rose essential oil and a quarter teaspoon of crushed orris root (which you can easily find online) to the mason jar and seal. Keep in a cool dark place for 6 weeks before displaying.
FLORAL CANDLES
Decorated candles make romantic bedroom and living room accents. Reuse those pretty dried blooms with this fun way to customize your candles. Even better if your blooms match the scent!
Supplies: Candle to decorate, used candle (to use as a heat source), lighter, metal spoon, dried flowers, large jar (wider in diameter than the candle you plan to decorate), clear wax, and parchment paper.
How to Decorate Candles with Dried Flowers: First, light the used candle. Next, heat the back of the metal spoon over the flame. Position a flower on the candle and gently rub the spoon over the flower, moving slowly but constantly to heat the wax beneath so it sticks to the petals. Once the flower is secure, repeat until you’re happy with your design. Let the candle set while you cut the clear wax into small pieces and stick into the jar. Put the jar of wax into the microwave for a few minutes until melted. Meanwhile, prep a surface with parchment paper. Move the jar of melted wax to the parchment paper, and carefully (using tongs if need be) dip the candle into the wax and hold for 2-5 seconds before pulling the candle out. Set down on parchment paper and allow to harden. The wax should form an even seal over the dried blooms.

PRESSED FLOWER SCRAPBOOK
If scrapbooking sounds old-fashioned, we think it’s due for a comeback. Scrapbooks live on as cherished heirlooms and, when displayed on a coffee table, no one can resist peeking inside. You can make your scrapbook 100% your own by using pressed flowers to adorn the cover!
Supplies: Basic scrapbook (ideally with a natural-looking material, like canvas or recycled paper), dried flowers, mod podge, and a sponge paintbrush.
How to Make a Pressed Flower Scrapbook: This one is simple, but it happens in two parts! First, arrange your flowers on the front cover so you know exactly where you want them. Once you’re happy with your design, take a photo with your phone so you remember your flower placement in case one blows away mid-project. Put a thin layer of mod podge under each flower and gently press to adhere. Once the flowers are down, allow to dry overnight. The next day, paint a thin, even layer of mod podge overtop of the whole cover to lacquer in the flowers. Let dry in a well-ventilated area (away from pet hair!) for 48 hours before displaying.
DRIED FLOWER SHADOWBOX
We are obsessed with gallery walls, and one thing every gallery wall could use is a little strategically-placed texture. Reuse your favorite blooms to create one-of-a-kind flower art. Mix this shadowbox in with your photos and artwork to add a little something unexpected.
Supplies: Scrapbook paper (for backdrop), craft glue, dried flowers, and a picture frame
How to Make a Dried Flower Shadowbox: Cut the scrapbook paper to the size of the picture frame. Arrange blooms on the scrapbook paper to create the design you want. Use craft glue to adhere the flowers to the paper (tip: work in small dabs, not big globs!). Leave a little space between your blooms and the edges of your scrapbook paper. Let dry. Remove backing from picture frame. Apply dabs of craft glue to the corners and center of the picture frame backing and carefully stick on the scrapbook paper, paying attention to not crush your flower art. Let dry before placing the art and backing into the picture frame. Display on end tables, walls, or your mantel.

As far as we see it, flowers are like fine wines—they get better with age, as long as you know what to do with them! If you can’t get enough of these craft ideas, join us for our next workshop or book a private event! Our events are a fun way to hang out get crafty with friends and family of all ages and abilities. We promise the memories will last longer than those perfectly preserved petals!

